Air Chamber

As water ingress to the caliper often occurs through the air chamber it makes sense to inspect and check your air chamber when replacing a caliper or carrying out regular service checks.
There are two areas to check: the flange seal on the air chamber (1) and the bungs on the air chamber (2).
After checking the flange seal, carefully inspect the visible part of the pushrod. If water or rust staining is present on the pushrod, it is a clear sign that the pushrod seal/boot has split or is not seating correctly.


2. As the air chamber has to be open to the atmosphere it is likely that water will be present in the air chamber. Having said this, there are steps you should take to ensure that the amount of dirt and water within the air chamber is kept to a minimum. This is because water in the air chamber can rust the spring, causing damage to the internal boot. If this occurs, water will transfer freely from air chamber to caliper, leading to caliper failure.


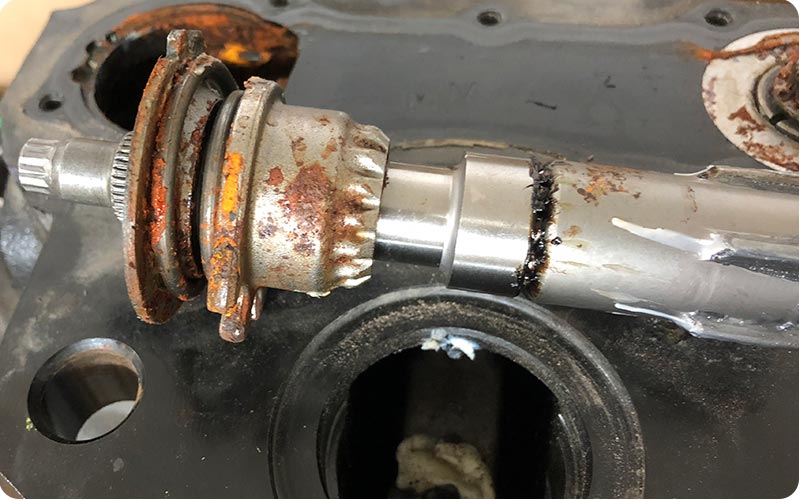
More normal is for water to enter the brake and be undiscovered for weeks or months, until brake efficiency reduces, which is then picked up on rolling road inspection or test. This brake is completely beyond repair and had been fitted with an air chamber with a damaged seal.
End Caps
Calipers not sliding?
Open guide sleeves are a compromised design feature. They let water in; causing sliding issues and rust jacking, which leads to unnecessary workshop maintenance and service costs.
That is why we invented our patented fully sealed short guide sleeve system. All MEI calipers for Knorr-Bremse applications now have 100% closed guide sleeves.
However, badly fitted end caps are still our No. 2 field service issue.
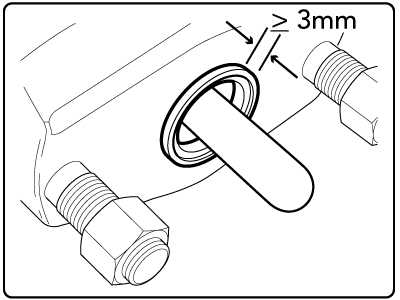
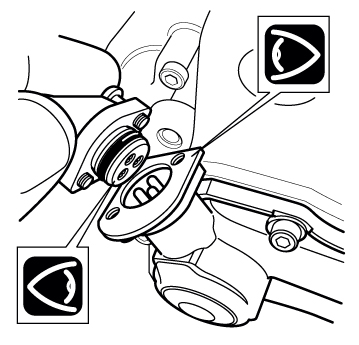
Sometimes it is obvious to spot badly fitted end caps:
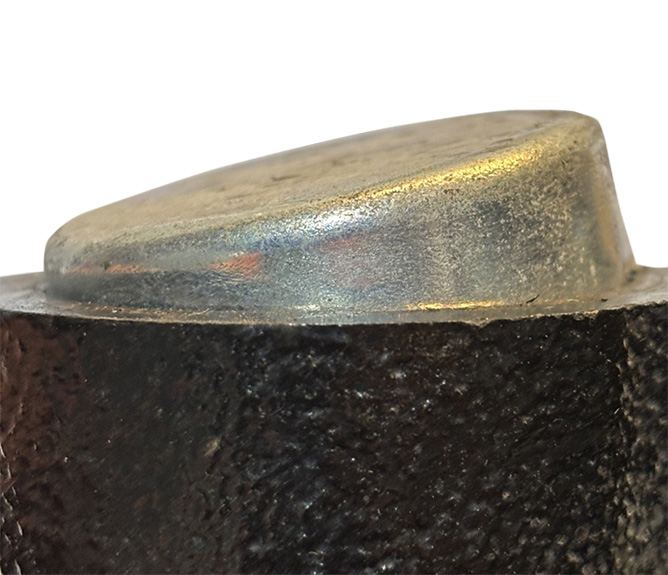

But not always. Below we see what happens when the end cap is inserted correctly (left) and incorrectly (right).
If the end cap is then levelled up (see image on the right), the end cap can appear to be fitted correctly but can still allow water to enter.
Remember:
- Always take care when fitting end caps.
- Where possible use our service tools.
- Follow the instructions and videos that can be found on our website - details are below.
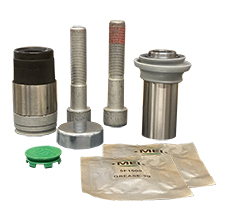
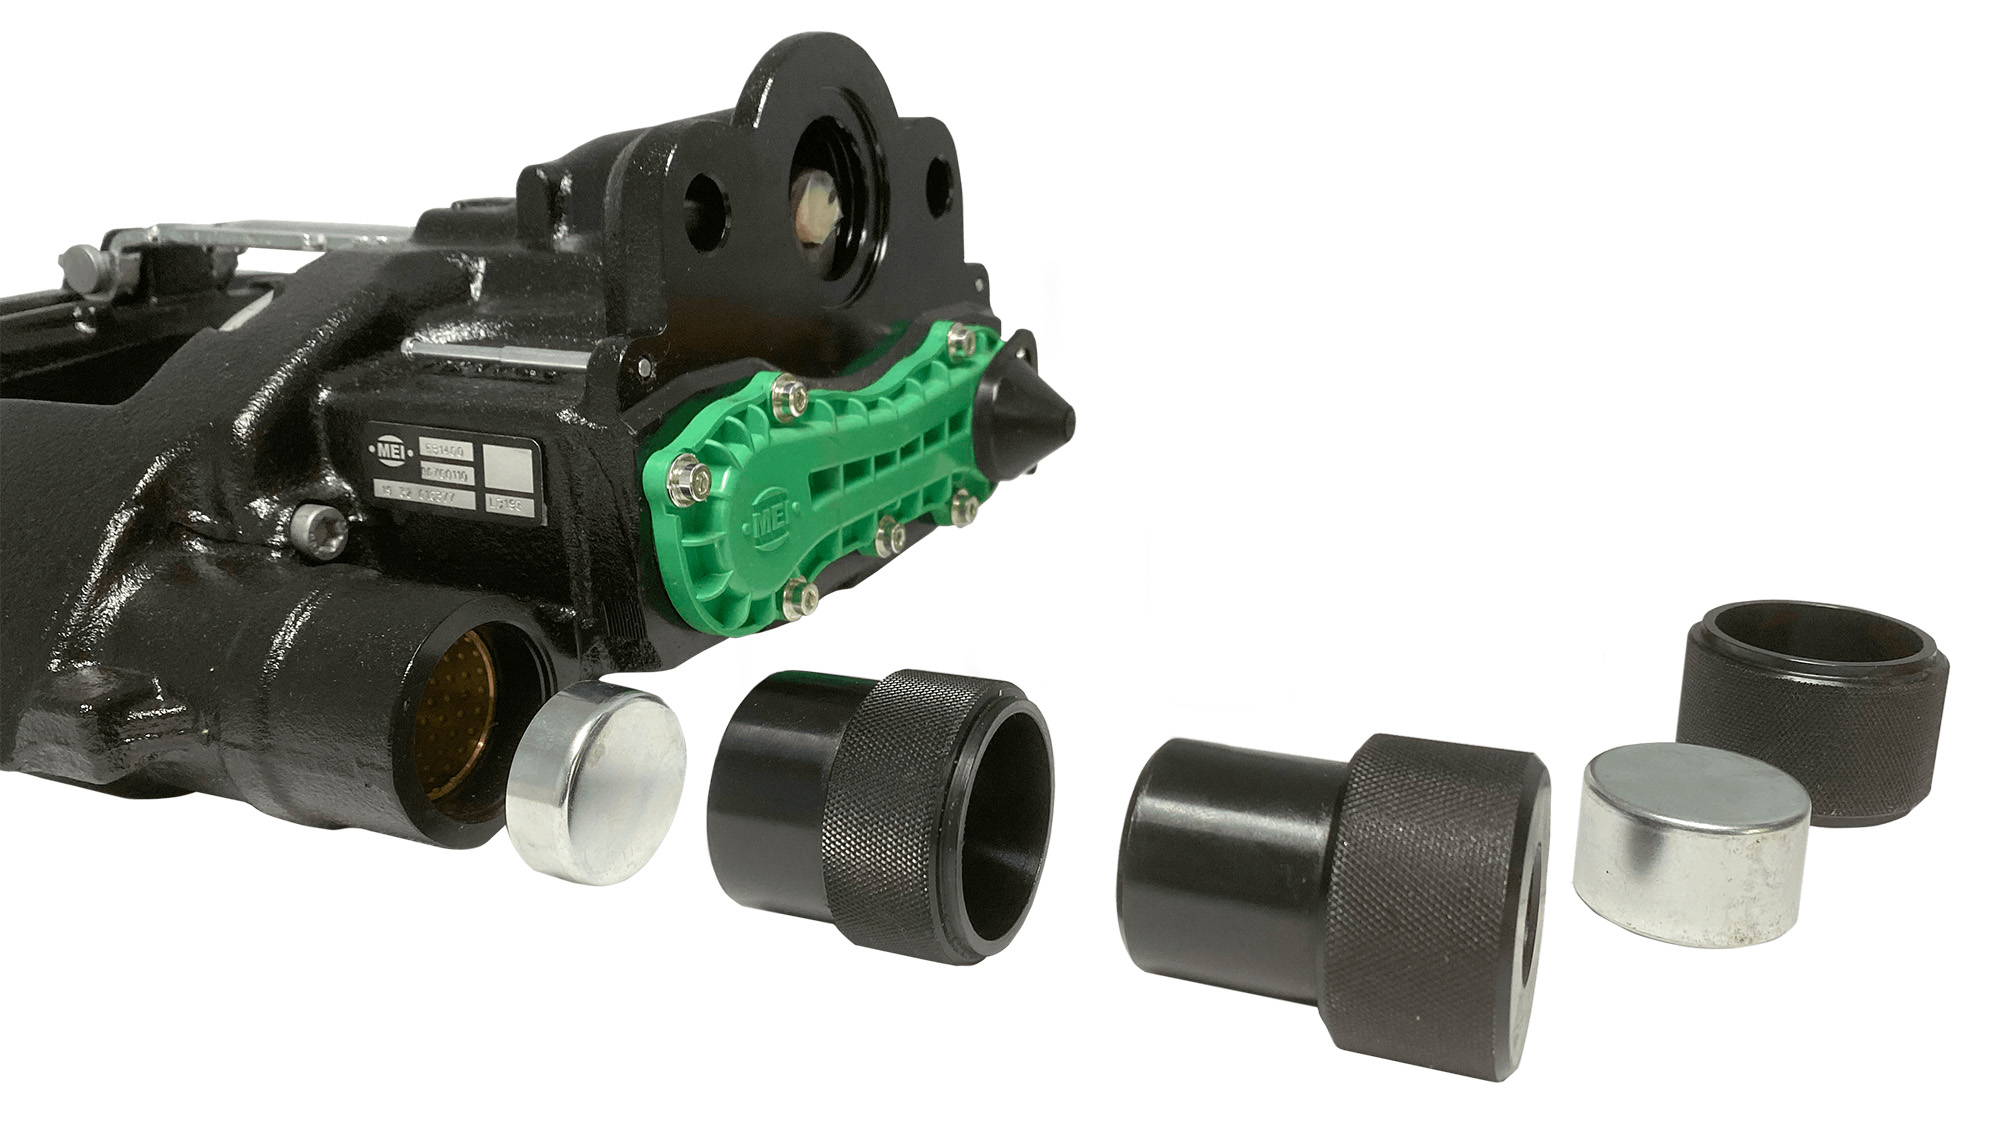
The easiest and safest way to fit end caps is to use MEI's End Cap Tool Kit - 5K0020 - and our End Cap Pack - 5R0505.
To fit the Long Guide Sleeve you will require: Tools M21 &M22, a copper head hammer and the 14mm cap
To fit the Short Guide Sleeve you will require: Tools M21 & M23, a copper head hammer and the 24mm cap
Long Guide Sleeve
Fitting the protective cap(s) can only be done after the caliper has been fully bolted to the carrier. The guide sleeve boot(s) must be in a compressed condition or the caliper’s freedom of movement will be limited.
Locate the 14mm protective cap for the long guide sleeve into the caliper bore - the protective cap and bore must be clean and free from lubrication. Press the protective cap into the bore ensuring it is seated squarely until the cap protrudes 0 to 2 mm from the cast boss.
For Video Instructions please see below -
Short Guide Sleeve
Locate the 24mm protective cap for the short guide sleeve (where applicable) into the caliper bore - the protective cap and bore must be clean and free from lubrication. Press the protective cap into the bore ensuring it is seated squarely until the cap protrudes 15 to 16mm from the cast boss.

For Video Instructions please see below.
5R0215 Guide Sleeve Kit
|
5RS215 Short Guide Sleeve Kit |
LB225, LB195 |
LB225, LB195 |
 |
 |
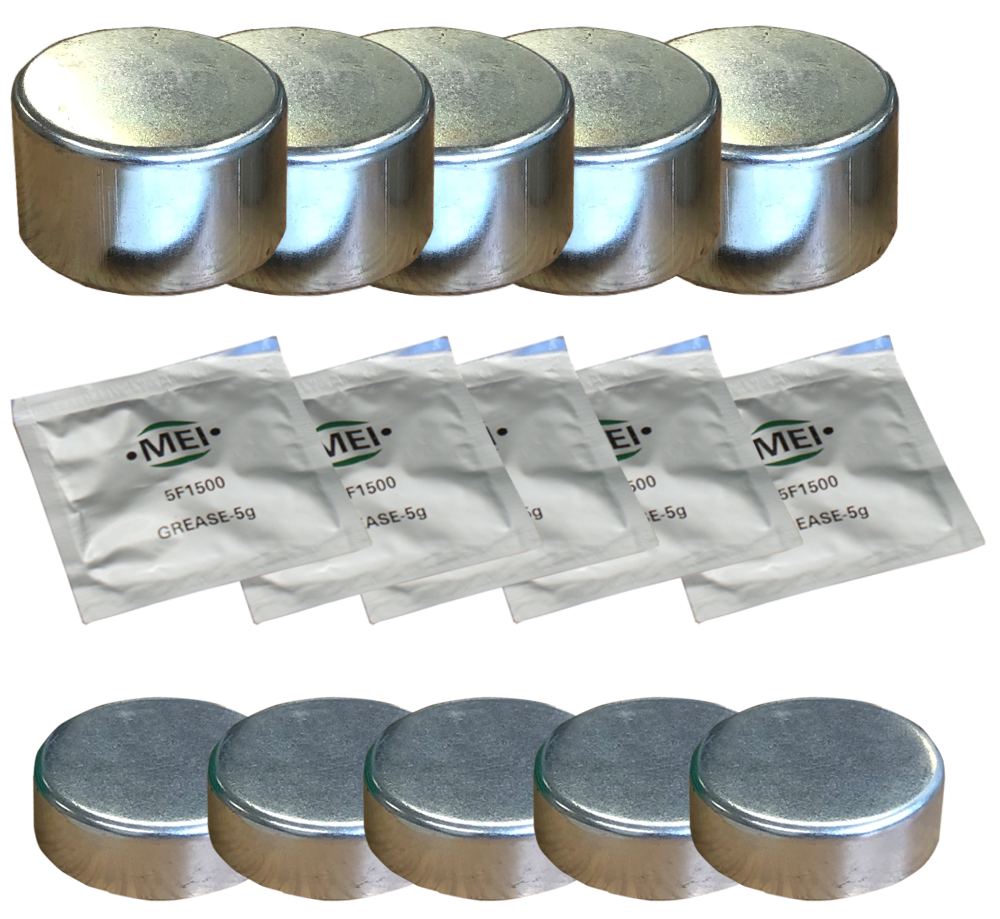
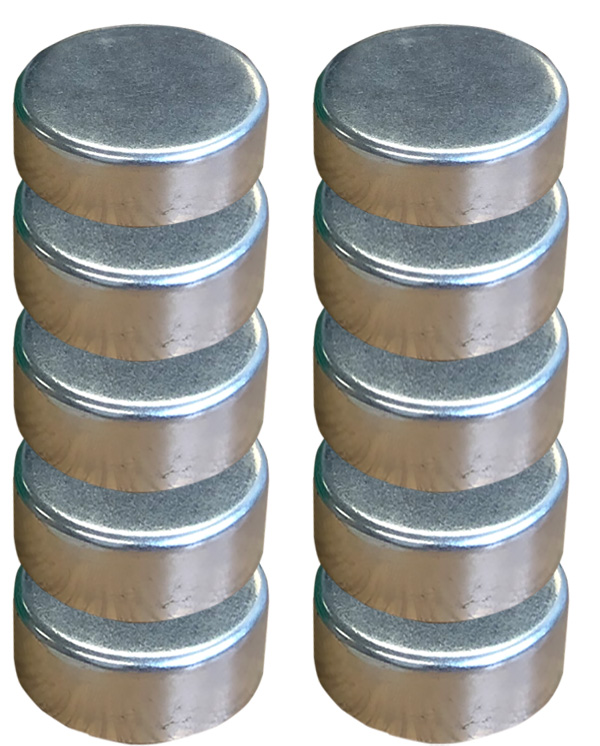
5R0505 End Cap Repair Kit
|
5R0510 End Cap14.2mm |
5R0520 End Cap25mm |
LB225, LB195,LC225 |
LB225, LB195,LC225 |
LC225 |
 |
 |
 |
MEI End Cap Tool Kit |
5K0020 |
Tool Kit for Fitting End Caps |
 |
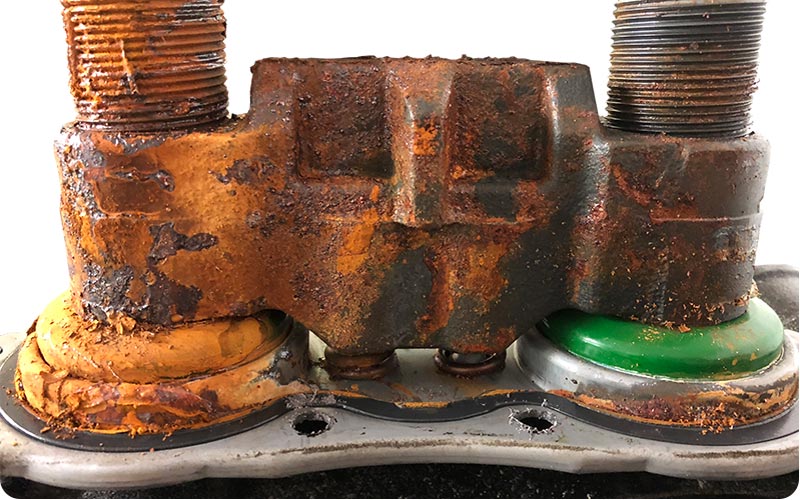
REMEMBER!
The End cap can look ok, but if out of shape it will let water in.
The guide sleeve will suffer corrosion and seize.
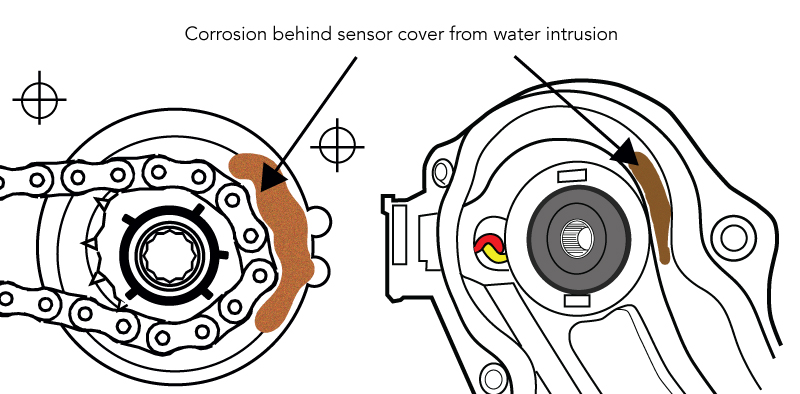
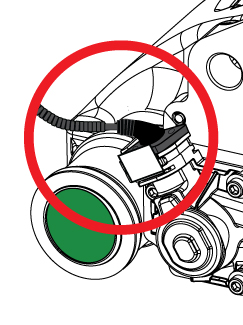
Wear Sensor
Water ingress to the caliper’s brake pad wear sensor will cause irregular pad wear readings on the dash and/or sensor testing unit. This can also cause corrosion and prevent the caliper from functioning properly.
A few drops of water within the caliper can cause failure of the internal electronic components and pool to form rust.
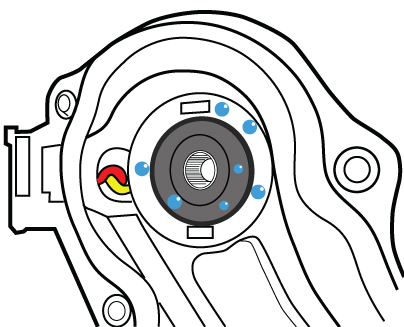
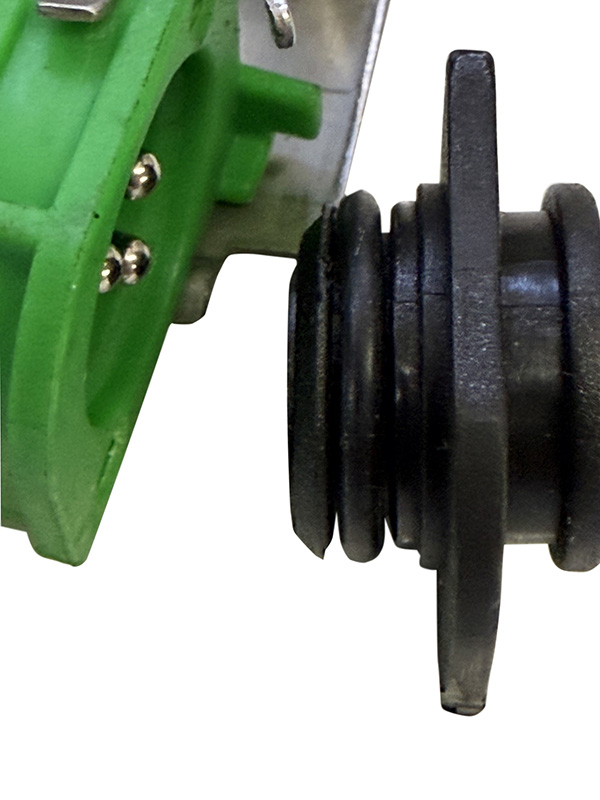
1.The most common water entrance point to an ADB caliper’s sensor is the vehicle’s wiring connector o-ring.
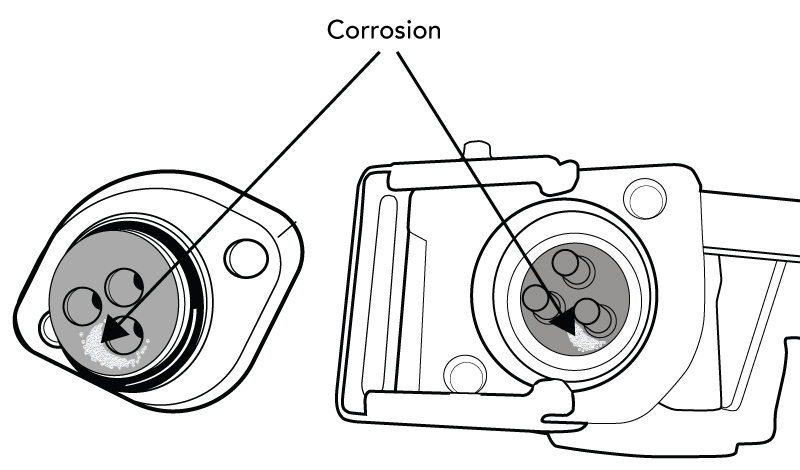
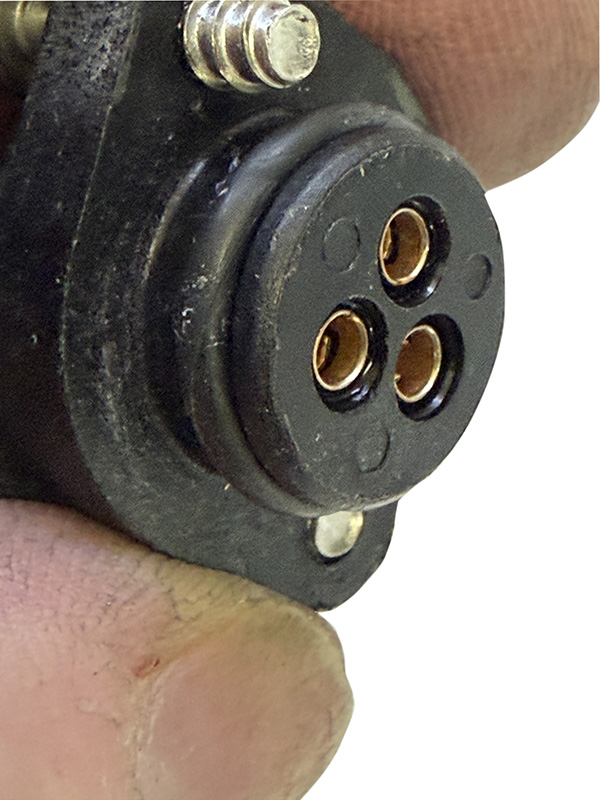
Carefully examine the sensor and connector for corrosion or signs of moisture.
Corrosion on the sensor or connector’s terminals is a clear indication of water intrusion.
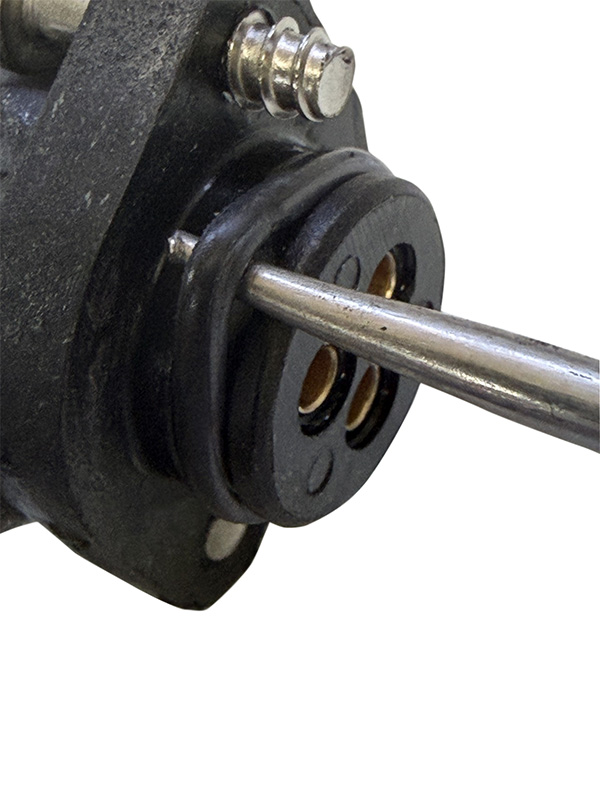
2. Inspect the o-ring installed on the vehicle’s wiring connector for damage when installing a new caliper. There may be damage from the fastener or the o-ring may have been pinched between mating surfaces. Replace the o-ring if any damage is found.
For best results, replace the o-ring installed on the vehicle’s wiring connector each time a new ADB caliper is installed.
From January 2026 all MEI calipers will include a new o-ring fitted to the blanking plug. Remove the o-ring from the blanking plug.
Use silicone-based dielectric grease to lubricate the o-ring and prevent corrosion on the connector’s terminals and pins. Avoid grease that is not suited for electrical connectors.
After lubricating the o-ring and connector terminals, press the connector firmly into the caliper’s sensor and hold in place while evenly tightening the fasteners. This will help prevent the connector from rocking, thus keeping the o-ring from bulging out or pinching between the mating.
3. If a sensor connector leak has been identified and water has entered the sensor cover, replace the chain cover. If water / moisture remains present the caliper will need to be replaced.